Followers

Showing posts with label Inspiration. Show all posts

January 08, 2022

January 2022 Chibi Team Highlight


Stampers Delights is having the big MEGA SALE of the year!! The hole January it is 50 % off full prices!! Check out the shop HERE!! Use the coupon code 220-SALE in the shop.

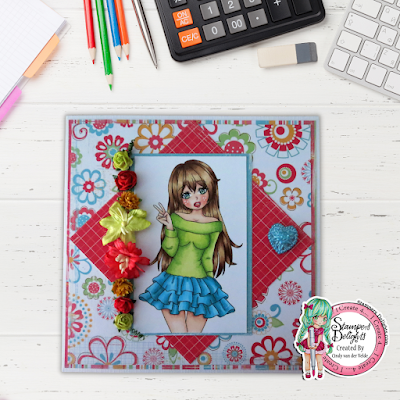
The Chibi Design team choosed their favorite image from the shop for this Highlight- and inspiration post, and here are the beautiful creations from them.
 
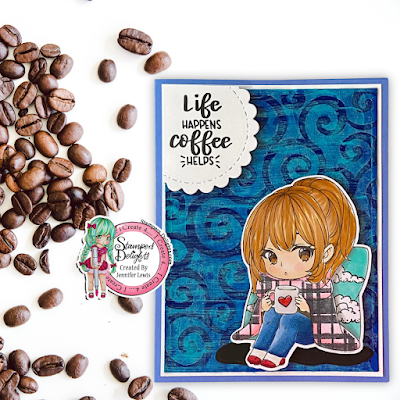
Created by Jennifer Lewis


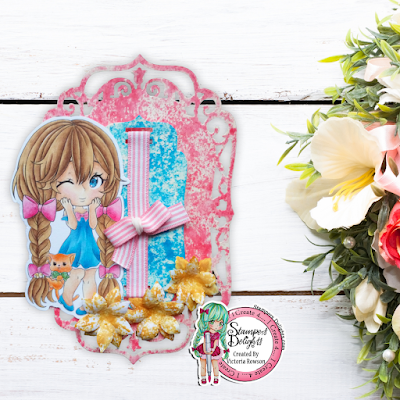
Created by Victoria Rowson


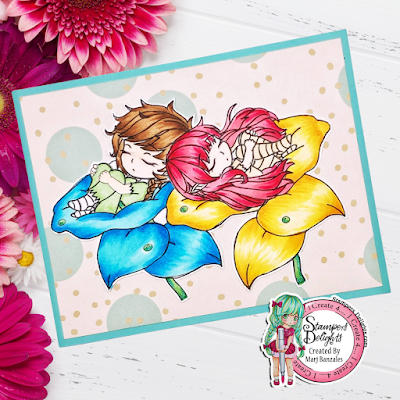
Created by Marj Banzales


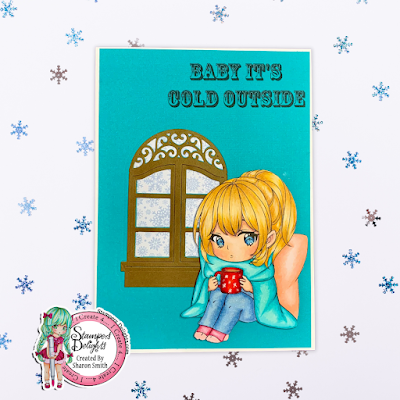
Created by Sharon Smith


A big THANK YOU!! to the ladies in the Chibi Team for all the lovely projects! 

Remember to check out Stampers Delights Fan Group for inspiration and also to check out our Progressive FB Challenge, hope you join us! 

Thank you so much for stoping by today and please check out our blog soon again for more inspirations.

January 07, 2022

Highlight January MEGA SALE!!


In January Stampers Delights is having a MEGA SALE!! 
All of the full price images are 50 % of in the shop! You used the code 220-SALE.


Every team member choosed their favorit image from the shop and in this post we are glad to share the finished creations from the Video/Tutorial team.

This lovely pink card is created by Vanessa Hasty and she have used the super cute image Kawaii Miss Kitty on the card. 

This card above is created by Eivor Larsson and the images she used is Kawaii Just A Note.

We hope you take your time to check out the Stampers Delights SHOP during January and this MEGA SALE!! 


And at last we want you to check out Stampers Delights Fan Group for more inspirations and also link to our Progressive FB Challenge. It is a super cute image this month... 


Thank you for stoping by today and just a little information...it is a good idea to check out this blog tomorrow also, you will then get more inspiration from the desighn team!!

January 01, 2022

January 2022 Progressive Facebook Challenge


Happy New Year!! 

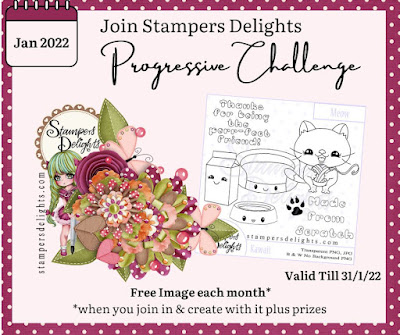
We start the new year 2022 with a new Progressive Facebook Challenge for January!! Hope you will join us! This challenge runs every month in the Stampers Delights Facebook Fan Group.

Now in January our freebie is the super cute stamp "Kawaii Meow".


THE FACEBOOK PROGRESSIVE CHALLENGE WILL START ON THE 1ST OF JANUARY AND RUN THROUGH UNTIL 31ST JANUARY!

How does it work?
- Each month on the 1st you will receive an email that will notify you of a new post which will be pinned to the top of the Facebook page.

- You will also see a catagory which says "Products", then chosen image for the given month will be there ready for you to download.

- This product will disappear on the last date of that given month and on the 1st of the next month, another image will be available and the occasional bonus when we have any events. 

PLEASE NOTE we will still be monitoring participation.

PLEAS JOIN HERE:

What do I need to do?
- Create with the image. Use one of Stampers Delights image(s) you own, purchase or freebie.

- You can create any typ of full projects using it.

- You can post 3 entries and all need to be NEWLY created.

- Upload your prodject into the pinned monthly album in Stampers Delights Fan Group. 

- It would be lovely if you could share your project within other groups as the more people that play the better the prizes!!

To keep receiving each months images all you have to do is create with it. 

You will be given an antry number in the comments and at the end of the month you could be one of the random winners who get bragging rights, and yes there are prizes!!

What happens if LIFE HAPPENS?
If for any reasons you are suddenly really busy that month which I know can happen and not able to submit the project, all you have to do to jump back in is: 
- Create with the image you was given and add the the new months album. 
- Request the new image that month.

What if I do not want to create with last months image but have to create wit hths month?
- If you just have to create with the new one you can go t omy store and purchase that month image for just £1.50 and create as normal. 

We have a fun caring group with everyone at different stages of their creative journey, very supportive with ZERO tolerance to DRAMA.

PLEASE JOIN HERE:

Now to the lovely inspiration projects from our talented Design Team.


Created by Helen Nile


Created by Marj Banzales


Created by Wendy Batchen


Thank you ladies for your lovely creations!! 

We hope that the Design Team inspired you to get creative and that you join us in the January Challenge. 

Thank you for stopping by today and don't forgett to visit us tomorrow for more inspiration. 


December 18, 2021

Free Standing Calendar Tutorial

Good evening everyone and welcome to my final tutorial of 2021. I can't believe how quickly this year has flown by. It definitely has had its ups and downs, hasn't it?! Hopefully 2022 will be a much better year for us all! 

Anyway...on to my project. For this one, I thought I would make one of my free standing calendars that I have been making for years. They are perfect for gifts and can be made in whatever size of shape you wish! 

I have used the gorgeous Chibi Happy Birthday for this image and went for a favourite combo of mine - pink and light brown. 

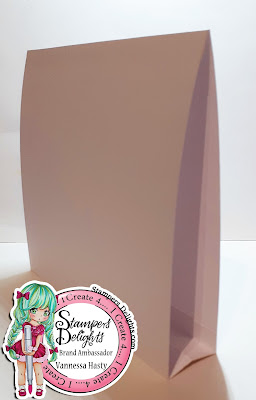
To start, I have cut all the card and patterned papers ready, but the base of the calendar will be a 7 inch square. Therefore, I have cut 1 piece of card at 7 x 7.5 inches and another at 7 x 9 inches. Once joined together, these will make the stand for the calendar. 


First, score the 7 x 7.5 inch piece of card at 7 inches.


On the other piece, score at 7, 7 3/4 and 8.5 inches. Fold the middle score line in the opposite direction to the other two folds - they should be valley and the middle score line should be a mountain fold.


Now join the two pieces together with a fold at each end. The double folded piece will be at the bottom of the calendar and the single fold will be at the top. 


This is the side view... If you want a wider bottom section, then you just need to increase the size of the folded part. 


That is the base of the calendar made and now it's time to decorate... I added my layers of patterned papers and ribbon, but felt it needed something more so added some flowers and pearls to it as well.


And the side view again...


I hope you enjoyed this tutorial. I would love to see your own version, so do come on over to the Stampers Delights Facebook Group and share your projects with us all there! 

You can read more about this calendar and the Copic combos I have used to colour my image over on my blogpost here.

December 11, 2021

Christamas Ornaments - Color Tutorial (two copic colors for each color)


Hi, 

Eivor here again, and today I am going to show you a Christmas Ornament with a image that I colored with less numbers of copics. I think it is good to show that you don't always need to have so many copics. 

I have made my ornament like a Christmas card, it means that I can send it to a friend to wish her Merry Christmas, and then she can hang it on the Christmas tree as a decoration. 
On my Christmas ornament I have used the beautiful stamp Anime Xmas Wreath. I think it is a beautiful stamp, perfekt for Christmas.

So to my tutorial...I have already colored her face and hair, so my tutorial is on the wreath, the ribbon and her top. 
We start with the wreath and the green colors. I started with G17 and I color around the sides and where I like it to be darkest.

The next, second color and also the last, is YG06. With this I go over G17 and exteding and coloring the hole space. After that I go back to G17, color the side/edges and then I take YG06 again and go over the hole space again. 

So to the ribbons and the red colors. I start with R29, go around the edges.

My next color is R24 and with that I go over R29, extending and then color the hole space. I also do the same as with the green. Go over the space with the colors again. First R29 and the R24 as the first time.

I also enclose photo on how I colored the bow. I used same red colors, R29 and R24 and did the same way. R29 where I wanted the bow a little darker.

Then it is time for the R24, extending and also coloring the hole space. Going over the bow once again first with R29 and then R24

 For the top I started with YR24.

My second color is Y15 and I am extending a little. As you can see I left some white space and I do that to get some more darker spaces. So now I go over the image again with YR24 and then Y15 and now I'm going over the hole space/top and filling the white space.

To make the ornaments I cut the image out with a round die, then I used another die with bubbly edge and cut two pices in red cardstock. I glued the red and white ribbon between the red cardstocks and then I glued the image on one side. 

Below is the backside of the ornament with the greeting "Merry Christmas", I will write mine and my familys name below when we send the card, thats why it is so white at this moment.

Hope you all liked my tutorial, and hope I can inspired anyone to try copics now when you see that you can create lovely colors with only two copics for each color. 

Thank you for stopping by today and hope you remember to check out our Stampers Delights Fan Group and also that you will join us in the mountly Progressive FB Challenge


December 10, 2021

Christmas Gift Tag - Coloring tutorial


Hi everyone, 

Eivor here and today I am going to show you how I colored an image on a Christmas gift tag. I used the digital stamp Kawaii Xmas Elf Gift and I think he is so cute!

But before I start to show you my coloring tutorial I want to tell you, so you don't miss, that in the shop all the "X-mas & Winter" and also all "Halloween" products are on SALE!! You get them for £1.50 !! Check out the SHOP!


So it is time for my coloring tutorial and I have colored the image with copics.
I will show you how I colored the clothes on the cute Elf, and we start with his hat.

I start with the darkest red and that is R89. I colored around the edges, where I want the hat to be darkest. 

My next color is R37, and i am extending the color just a little.

I then take R29 and extending a lot more, but leaving a space for the lightest color.

So to the last and lightest red color, R24. I now color the whole image. After this last red color I start from the beginning with the darkest color and go over the hat one more time. 

Now to the sweater and pants. For this  the blue color I used. I started with B93, and colored around the edges, where I wanted it to be darkest.

My next color is B91, and I am just going over the first color a little and extending.

I thought I could show that I am turning my image around and around, up and down when I color. I do that because it gives me more controll of the coloring.

So to my last blue color that is BG70. It is light so I have to go work a little more to get the colors to blend.

The shoes I wanted light brown, so I started with E43 and I go around the edges.

My next and second color is E42. I am going over the first color and extending a little. It is a small space so just need to extend a little. The last color I used on the shoes was E41, but I forgott to take a photo...


As I forgott to take a photo on the last color on the shoes I can show you that I colored the gloves on the same way, and the last color is E41. 

Now it is time for the white on the hat. I don't know how you feel, but I think it is difficult to color white spaces. I want to get better on it so I need to practice!!
On this image I started with C1. I go light, for me it is better and hopefully the image wont be destroyed...I start to draw a few lines/strokes and I leave a lot of white space. 

My next color was C0. I go over the all ready draw lines to blend and soft them up, not extending. 

My last color is C00 and with that I just gently going over the lines to blend a little more.

Hope you liked my turorial with the colors i used and that you got some inspiration.

Below you can see my finish Christmas gift tag. The text comes with the digi stamp.


Thank you for stopping by today and see you soon again (tomorrow) with another coloring tutorial. It will not be as many pictures like today *lol*

Remember to check out our group Stampers Delights Fan Group on Facebook. It is always a lot of inspirations there! And there you also can find our montly Progressive FB Challenge.


Sponsorship Design Team

  Hey friends! Hope you all are doing great! We have new projects to share with you today and I hope you will visit each of them and give th...