Hi,
Eivor here again, and today I want to show you a tutorial how to make glittery snow in a pretty easy way.
I have some problems and I think it is difficult to get "a good looking" snow when I make my cards, so I thought I could try something else and not use my copic markers.
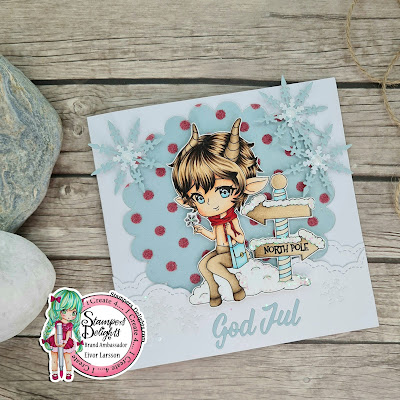
The image I used today is Chibi Tumnus Fawn.
This is what I used for my tutorial today. The colored image (of curse), then glossy accent glue, a needle and the GLITTER!
This is it, a easy way to make your Christmas (or any other card) glitterly and shiny!
I hope you can see the glittery "snow" on the road arrows and the little snow hill. I love how it is different colors in different lights and angles, and how it glitter!!
Thank you for stopping by today and I hope you liked my tutorial. If you have other ideas how to make snow please share this with us at Stampers Delights Facebook Fan Group. We love to see!


No comments:
Post a Comment