Followers

June 26, 2021

New Chibi Coloring Video


Hi everyone! Brand Ambassador kel here to share a quick coloring video with you using the new Chibi release Smile. She comes as a Clear Stamp but I'm working with her as a digital stamp which is also available in the Stampers Delights store!


She is just too adorable!! I have a speed coloring video to share with you today... and I apologize again in advance as my hand blocks so much of the coloring - I'm still getting used to a new rig and setup and figuring out the best placement for everything... and think I need another light or two as well!!


Here's the speed coloring video - it's sped up 4x so this image took me about 40 minutes to complete.


And if it doesn't work, click here to see the video on YouTube: https://youtu.be/SL7PjBa3ggY.


And here's the Copic colors I used for her:
Hair: E49, E47, E44, E55
Skin: E21, E51, E50
Skirt: B99, B97, B95, B93, B91
Shirt/Socks: C0, C00, red gel pen for edging on shirt
Tie: R39, R37, R35, R32
Eyes: E25, E55
Shoes: E59, E57, E25

Thanks for joining me and see you again soon!

lovies, =o) kel

June 25, 2021

New Anime Coloring Video

Hi everyone! Brand Ambassador kel here to share a quick coloring video with you using the new Anime release Believe in Yourself. She comes as a Clear Stamp but I'm working with her as a digital stamp which is also available in the Stampers Delights store!


Look how cute she is!! I have a speed coloring video to share with you today... and I apologize in advance as my hand blocks some of the coloring - I'm still getting used to a new rig and setup and figuring out the best placement for everything... and think I need another light or two as well!! It's a constant work in process lol!!


Here's the speed coloring video - it's sped up 4x so this image took me about 40 minutes to complete - sorry I managed to delete the hair coloring portion as it was a separate video! :(


And if it doesn't work, click here to see the video on YouTube: https://youtu.be/VfJ-29CEsWs


And here's the Copic colors I used for her:
Hair: C8, C7, C5, B23, C3
Skin: E21, E51, E50
Skirt: G17, G07, G05, G03
Shirt: C0, C00, green gel pen for edging on shirt
Tie: R39, R37, R35, R32
Eyes: B23, B21

Thanks for joining me and see you again soon!

lovies, =o) kel

June 19, 2021

New Chibi Clear Stamp Tutorial

Good evening everyone, Brand Ambassador Vannessa here again, sharing another tutorial of my colouring for you all. 

Today I have used the newly released Chibi Smile clear stamp set, which is just adorable. Again, I just love having lots of accessories stamps in these sets to make backgrounds which work perfectly with the image. No need to hunt for matching patterned papers, as you can make your own. 

I have taken photos of each step in my colouring with the Copic colours alongside, so you can see how I have built up each part to get my final image. 

I always use Memento Tuxedo Black for my Copic colouring and use blending card that works perfectly with them too. 


First I colour the skin using my favourite combo. It always looks a bit dark against the white background, but once the rest is coloured, it lightens up the skin. 


For the mouth, I add just a touch of E04 in the corners and fill the rest with R20.


I tend to leave my hair until last as I choose colours that will coordinate with the clothes, so I coloured the skirt and headphones next in one of my favourite pink combos.


I love pink and yellow together, so went with this bright yellow for the shirt, using a light brown as the undertone for the shading. This just adds a little more depth than the yellows do by themselves. 


I used the same yellow combo for the stripes on the socks, but this time added a little shading on the darker edges of the socks with my C0 to keep it white, but still adding a little shading at the same time. 


Next I decided to use a light brown combo for the tie and shoes, which adds that neutral balance to the colours used so far. 


I now get to the hair and as there is lots of it, I coloured it in three parts - the fringe first, then each pigtail. I have done two layers of the colours here to get a deeper, richer shade and to make sure all those darker sections where the strands overlap remain in shadow.


For the eyes, I have used three of the same colours as the hair so they coordinate well.


For the headphones, I wanted the cushion part to remain white, but it still needs a little shading so I added some C1 and C2 and then went over the very edges with my blender pen to blend it out to more or less white.


And here is my final coloured version of this cutie.


I have fussy cut her out and added her here to the stamp set. You can see how fabulous this set is! 


And here is my card. I created the background using my Distress Oxide inks and my blender brushes, before adding the music notes and treble chef from the set in black ink. I then added some dots of Nuvo Drops to add a little texture and shimmer. 


And here is my card and stamp set together. 

I hope you have enjoyed my step-by-step colouring tutorial today and I hope it has inspired you to maybe try some new colour combos as well. 

Please do pop back next weekend as there will be more tutorials from the rest of the DT each Friday and Saturday this month. 

June 18, 2021

New Anime Clear Stamp Tutorial

Hello everyone, Brand Ambassador Vannessa here and welcome to my first step-by-step tutorial for Stampers Delights. I am so excited about sharing this tutorial with you all today, so I hope you like it. 

I am using the gorgeous, newly released Anime Believe in Yourself clear stamp set and I am sharing with you how I have coloured her two-tone hair. 

Before I started on the hair, I coloured the rest of the image, mostly because when colouring black hair, I am conscious that I might pick up the black with my other colours. I always try to do the darkest colours last to prevent any mistakes. 


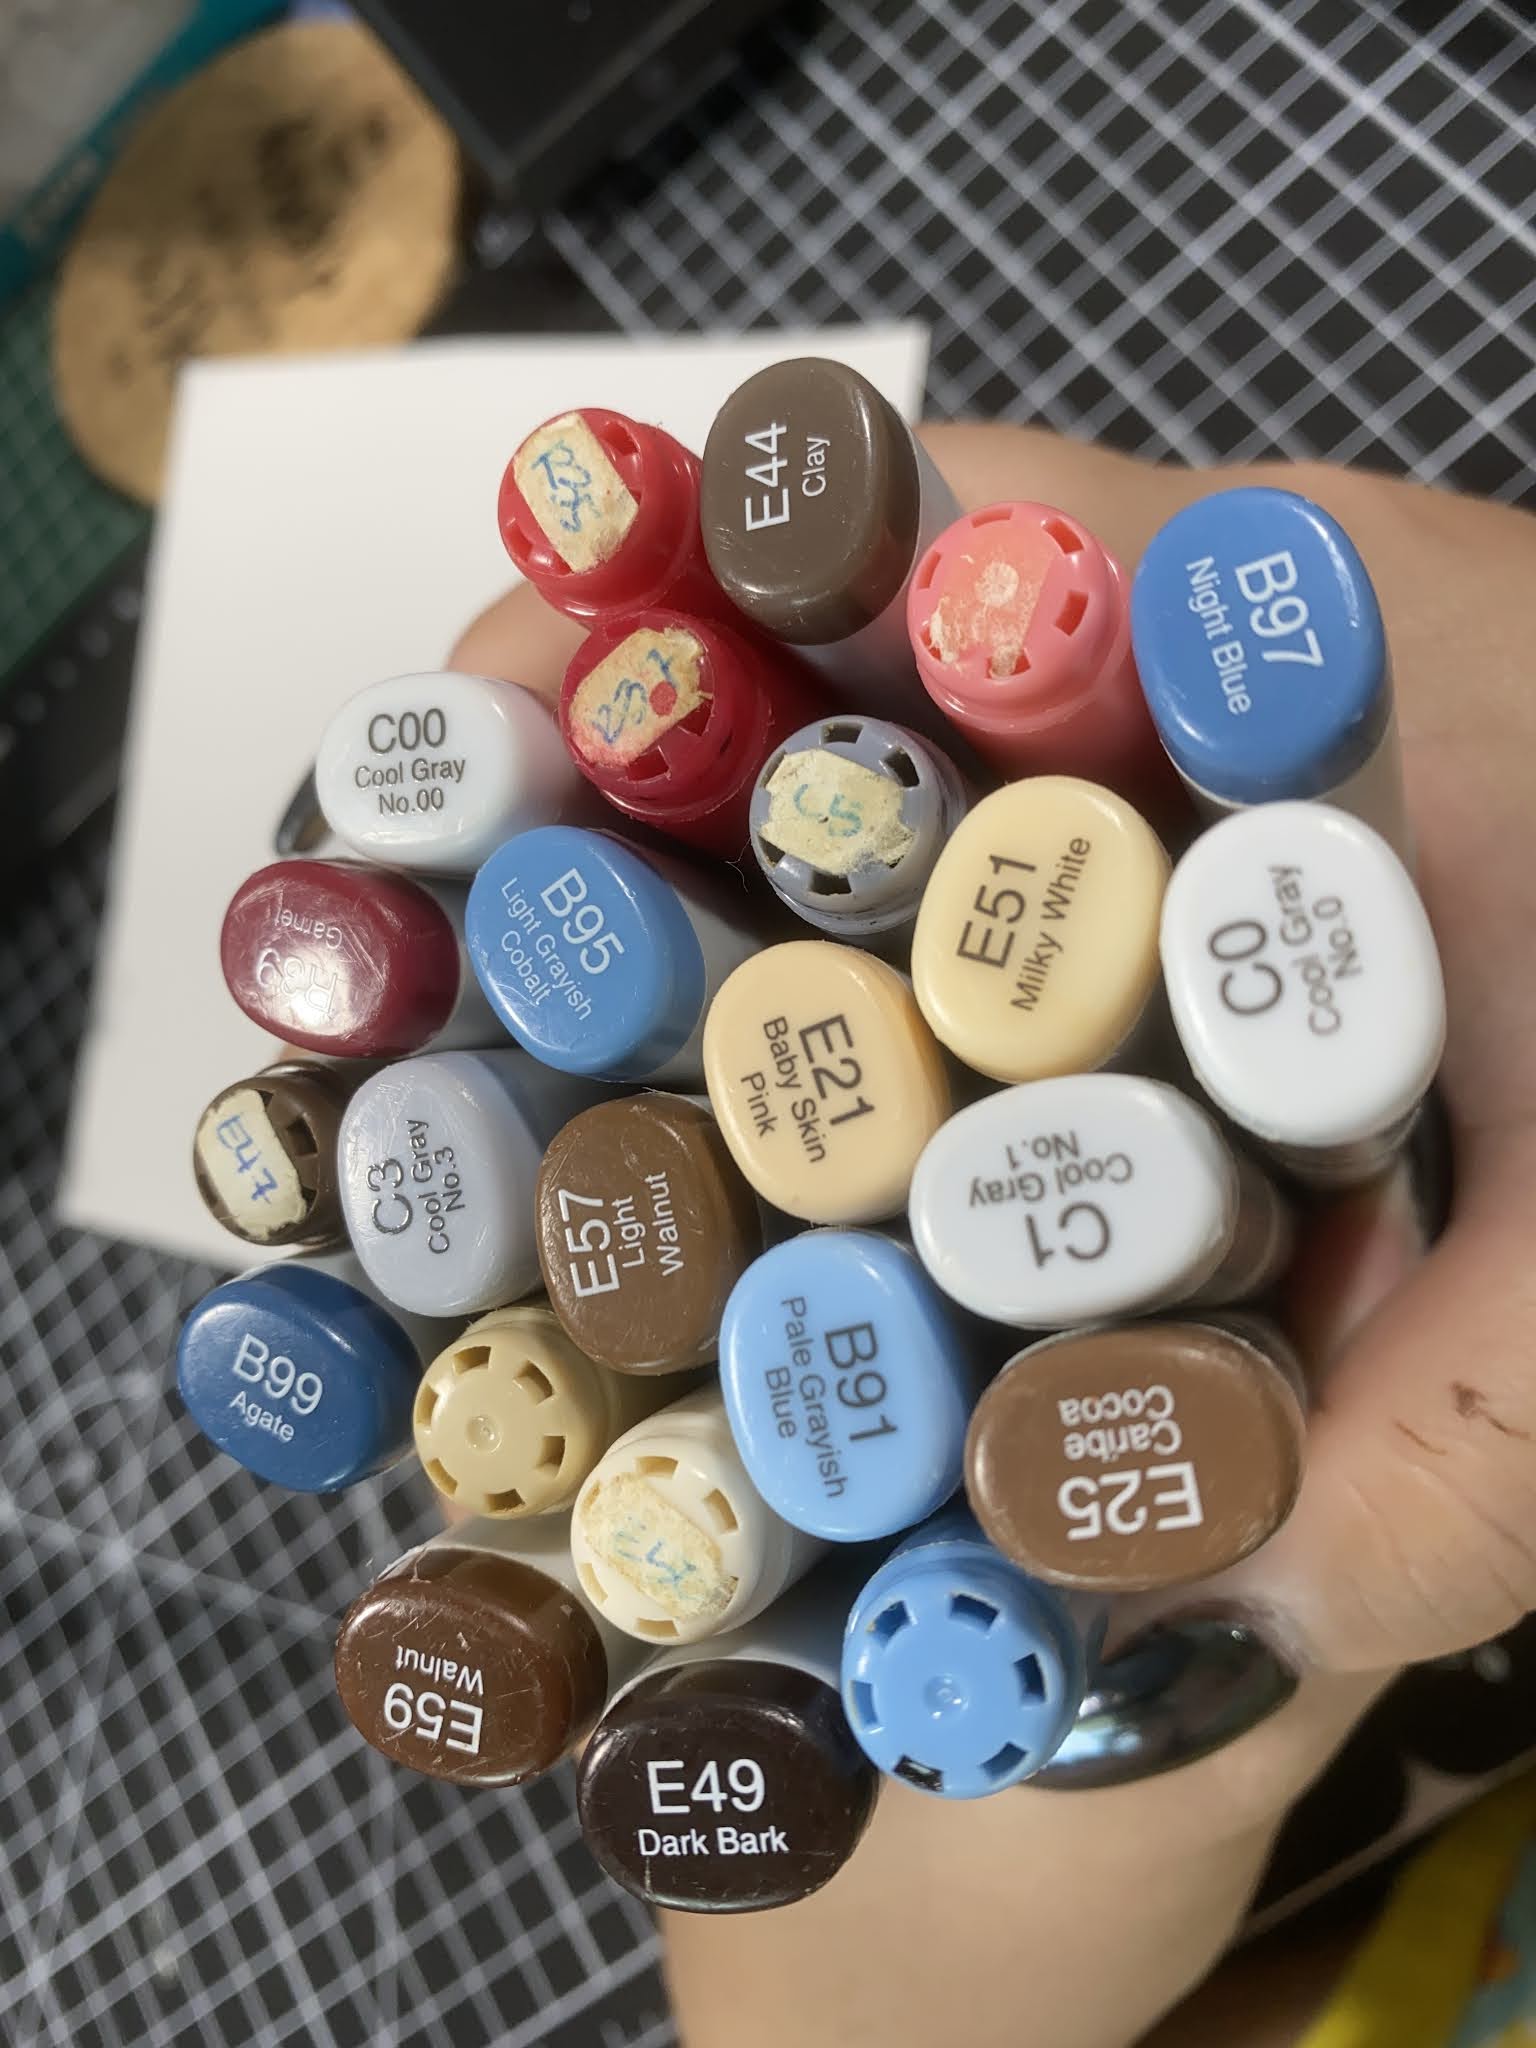
I have used these Copic markers for this part of the stamp:
Skin - E000, E00, E21, E11, E04, R20, R30
Eyes - BG07, BG09
Tie & Skirt - BG11, BG13, BG15, BG18
Shirt - V12, V15, V17, V09
Trim - RV06, RV09
Lollipop - RV02, RV04, V04, V06

As this stamp has a fringe (or bangs) and pigtails, I have kept the fringe part of the hair black and just added my second colour to the bottom of the pigtails. 


I now start to colour the pigtails with the black part at the top and the pink at the bottom. I do the darkest shade of each colour first, working up towards a middle point where the two colours overlap. 


Now for the second colour in each combo, continuing to flick each colour towards the mid point.


And now the final colour for each one. You can see here that where the colours overlap, the colour has an almost purple tinge to it.


With black hair especially, I always do a second layer of colour to deepen it and make it look less grey. I did the same with the pink as well. see how vibrant that pink looks now.


Here is the coloured version, which has been fussy cut out, over the top of the stamp set.


And here is my card. I used the circles and dots from the stamp set to create my own background paper, using colours that matched my coloured image. I also added the sentiment using the same pink combo as on the hair.


And finally the card, with the stamp set so you can see how well they go together. 


I hope you have enjoyed seeing my colouring process today and hope it has inspired you to give two-tone hair a try on your Stampers Delights images. 

Please do pop back again tomorrow for another fabulous tutorial.

June 17, 2021

Thrifty Thursday Deals for the Month of June

Hello and Happy Thursday!  Can you believe that we are back again with another Thrifty Thursday Deal for you?  This month, as with every month, the team created with one of their favorite images from Stampers Delights.  Their creations this month reflect the summer.  

You can find all the images used here.


Thank you so much for visiting and taking a look at all the gorgeous creations this month.  We will be back again next month with some more amazing creations.  Hope to see you!

Please visit the Stampers Delights store for you digital images and stamp sets.
We would also love you to visit the Stampers Delights Facebook Fan Group and while you are in the group, make sure to check out our monthly Progressive FB Challenge.  Here is the image for June.


June 12, 2021

New Anime Video Tutorial


Hi everyone!  Monica here today to share with you a new tutorial showcasing making a beautiful background using the supporting stamps in the new "Anime Believe In Yourself" stamp set.  This is a high quality photo polymer set with a lovely anime school girl. 


Here I have the image of the card using the background I will be using today.  I love using colorful backgrounds to support the image and making it pop.  

You don't always have to have fancy dies to make a beautiful card, but making the image the star of your card is what is important.  You can see how I Made this in the video below.


Video Tutorial


**If you are having trouble viewing on your mobile device click on the link below**


I do hope that you enjoyed this video tutorial.  Leave a comment if you want to see something you want to learn about.

Don't forget to join the Stampers Delights Fan Group.  Join the monthly challenge as well.


June 11, 2021

New Chibi Video Tutorial


Hi everyone!  Monica Here and today I have a special video tutorial for you!  This month Stampers Delights has a wonderful chibi stamp set called smile.  This is a photopolymer set that can be found at the shop (follow the link below).  This little chibi is sold as a 4x6 set and comes with two sentiments and some beautiful musical notes to go along with the rockin' out chibi girl.


I decided to make a rainbow themed card as I kind of wanted to have a more colorful background to this card.   I felt that a it just made this image pop.  to see how I made this card you can check out the video below. 


Video Tutorial


https://youtu.be/G4J5-sD-Ie4

**If you have any issues with viewing this on your phone please change to desktop view**


I hope that you enjoyed this tutorial.  Please don't forget to send us your comments with questions or tutorials you would like to see.


Don't forget to join us in the Stampers Delights Fan Group on Facebook, where you will find a friendly community driven to encourage your creativity!


Sponsorship Design Team

  Hey friends! Hope you all are doing great! We have new projects to share with you today and I hope you will visit each of them and give th...